Flatten a PDF (Lock Annotations & Form Fields) – Free, Fast 2025 Guide
Windows • macOS • Browser
Flatten PDF when you need every comment, highlight, stamp, and filled field baked into the page. A flattened file opens the same on every device, prevents casual edits to markup, and fixes upload errors on strict portals. Below are two free methods—Print to PDF and PDF→Image→PDF—plus quality tips, when to flatten, and troubleshooting.
Open Free PDF Tools — PDF→Image, Image→PDF, Compress, Merge, Split, Word→PDF.
[lwptoc]
What Does “Flatten PDF” Mean?
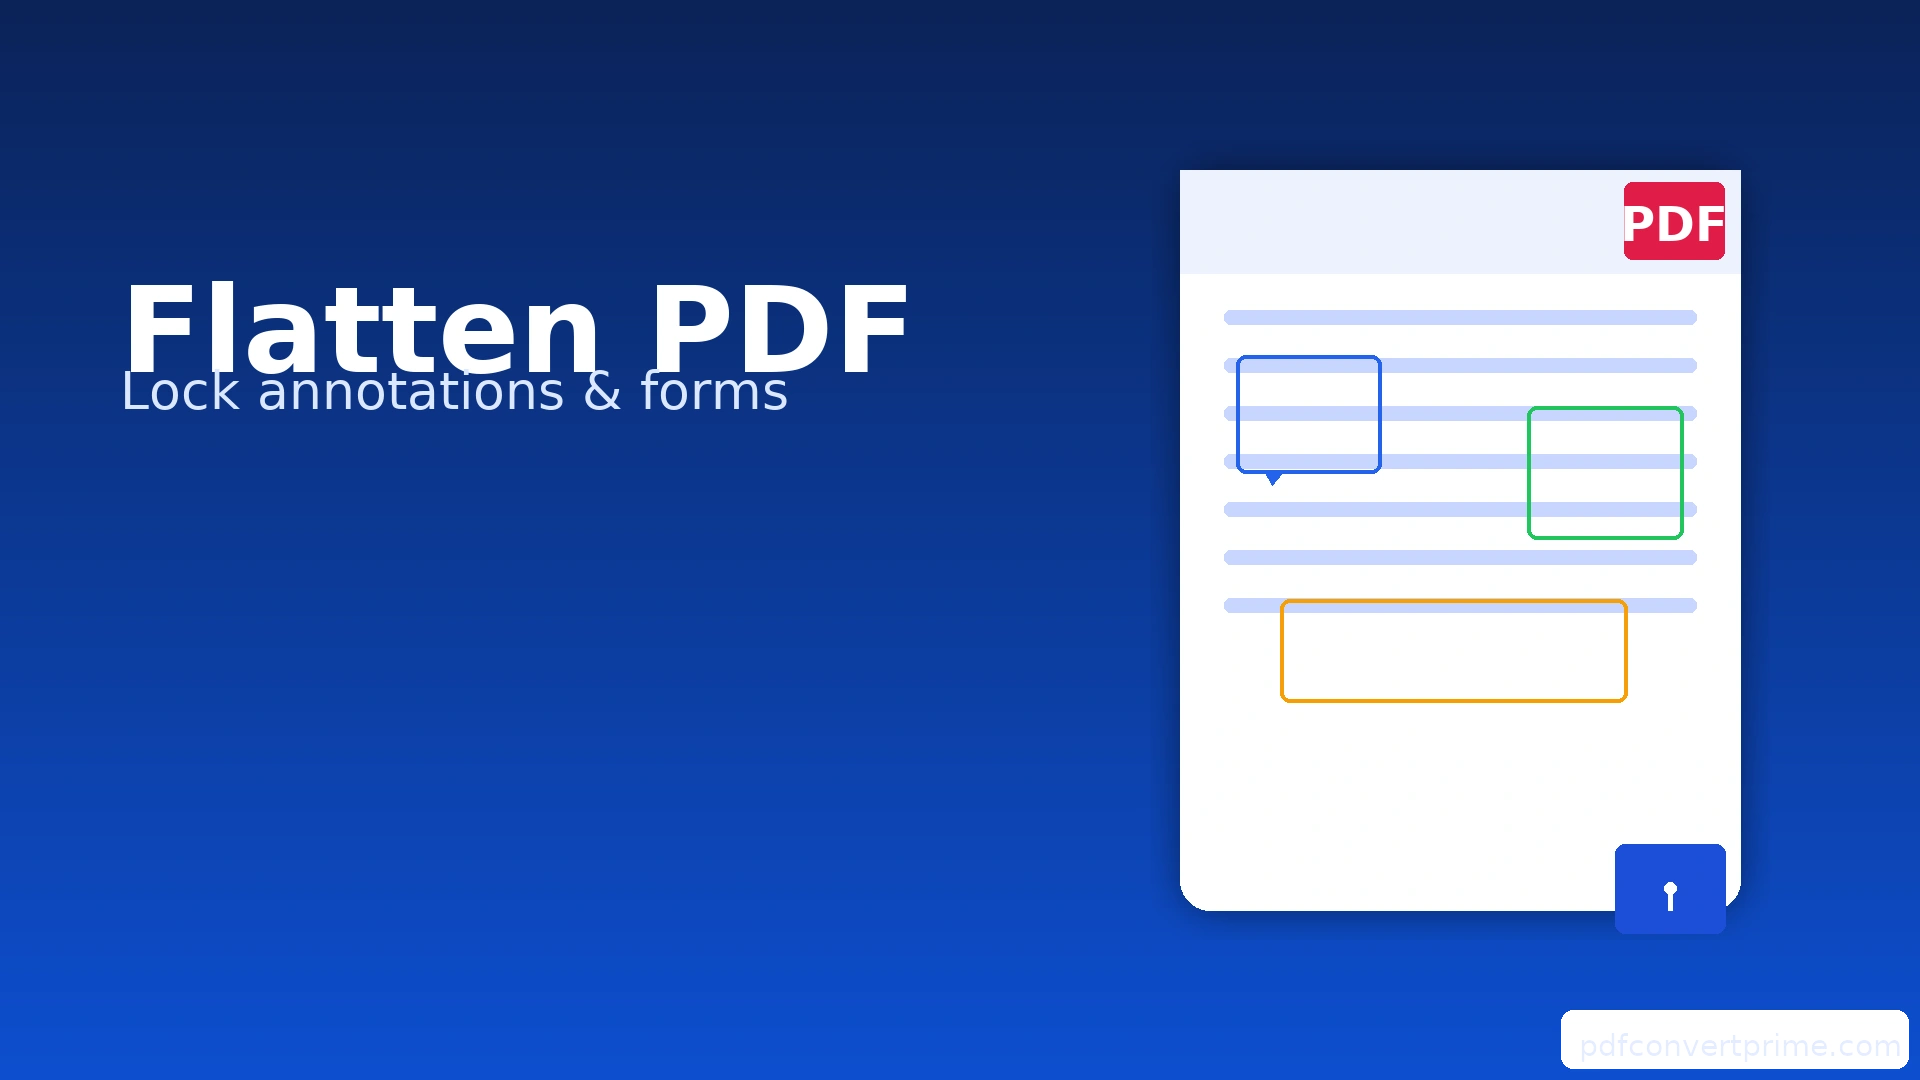
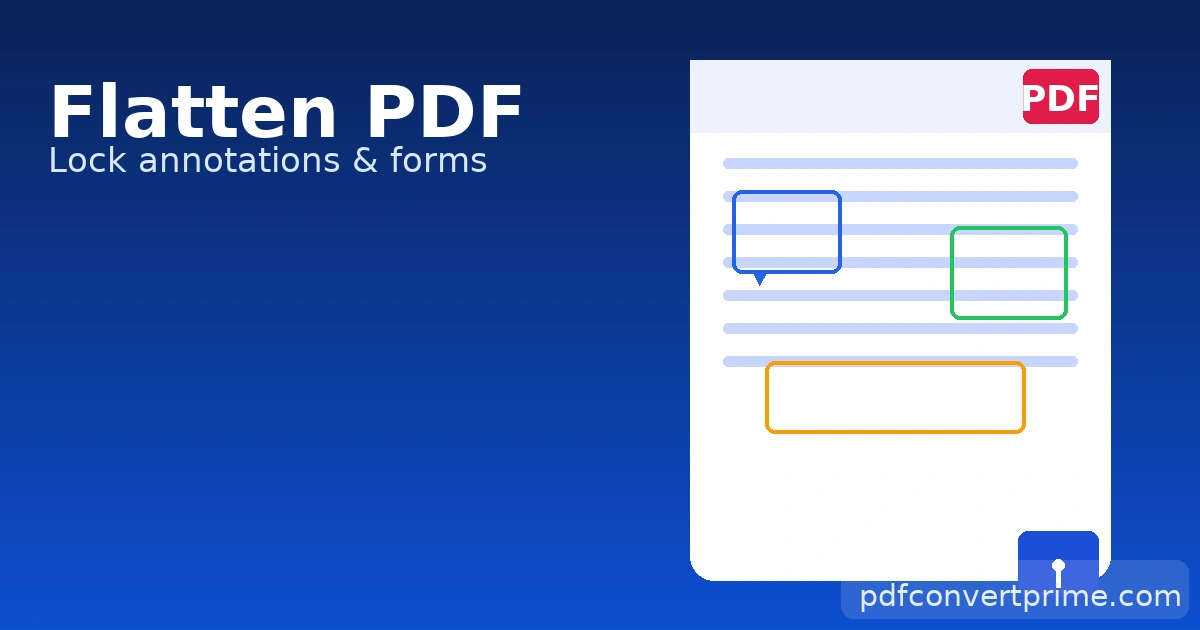
PDFs can contain layers: the original page, plus annotations (highlights, comments, stamps), widgets (form fields, signature fields), and overlays. To flatten a PDF is to render those layers into the page bitmap or vector content so they can’t be edited or disappear in different viewers. It’s like exporting a “what you see is what they get” snapshot of the document.
- Pros: consistent appearance, fewer upload errors, stops easy edits.
- Cons: interactive fields are removed; re-editing markup later is not possible. Always keep an editable original.
Method 1: Print to PDF (Fastest)
This is quick and preserves text as selectable/vector in many cases.
Windows
- Open the file in your viewer (Edge, Acrobat Reader, etc.).
- Press Ctrl+P → choose Microsoft Print to PDF.
- Set Print on both sides = Off; Scale = Fit (or 100%).
- Click Print → save as a new filename, e.g. flattened_report_2025.pdf.
macOS (Preview)
- Open the PDF in Preview.
- Go to File → Export as PDF (or File → Print → Save as PDF).
- Save with a new name. This bakes annotations into each page.
Official docs for reference: Apple Preview annotations and Adobe: Print PDFs.
Why it works: printing re-composes the page stream. Many viewers rasterize annotations and lock widgets during print, leaving a stable, flattened file.
Method 2: PDF → Images → PDF (Strongest Lock)
This route converts each page to an image first, then re-builds the PDF. It’s the most compatible approach when a portal or partner rejects interactive content.
- Convert the PDF to images with PDF to Image (PNG for crisp text, JPG for photos).
- Combine images back into one file using Image to PDF (A4/Letter, portrait, 0.5″ margins).
- Run the result through Compress PDF (Balanced) to keep the size email-friendly.
Trade-off: text becomes pixels, so searching/copying is limited. If you need searchable text, keep the original or OCR later.
Quality & File Size: DPI, Color, and Compression
- DPI: For text-heavy pages, 150–200 DPI is usually perfect. Fine diagrams may need 300 DPI.
- Color mode: Use Grayscale for black-and-white content to shrink size; keep Color for stamps/seals.
- Compression: After you Flatten PDF, use Compress PDF → Balanced (clear screens & prints) or Smallest (strict upload limits).
- Fonts: If a portal complains about fonts, the image route guarantees full flattening and avoids embedding issues.
When to Flatten PDF (and When Not To)
Flatten when…
- You’re sharing a marked-up draft outside your team.
- An HR/school/government portal rejects interactive files.
- You need a “no-surprises” version for print or archiving.
Avoid flattening when…
- You still need editable form fields or comment threads.
- The document requires selectable text for accessibility.
- You plan to reflow text or make layout changes later.
Best practice: keep two copies—original_editable.pdf and flattened_final.pdf.
Common Workflows
Fill → Sign → Flatten
- Complete the form and sign (draw or image).
- Flatten PDF via Print to PDF.
- Compress and send.
Collaborate → Resolve → Publish
- Review with highlights/comments.
- Resolve threads; flatten for external circulation.
- Archive the flattened copy with a clear name and date.
Troubleshooting & Quick Fixes
- Viewer still shows editable fields: Use the image route or try printing from another viewer (e.g., Acrobat, Edge, or Preview).
- File size exploded: Re-export images at 150–200 DPI and re-run Compress PDF.
- Text looks fuzzy: Prefer PNG during PDF→Image for line art and text; JPG is better for photos.
- Need bookmarks: After flattening via images, bookmarks are lost—recreate quickly by combining chapters with Merge PDF or re-adding in a reader.
FAQs
Does flattening reduce quality?
Print to PDF usually preserves vector text, so it stays sharp. The image route rasterizes; use 150–300 DPI and Balanced compression for crisp results.
Can I un-flatten later?
No. Keep your original before flattening.
Will flattening make the PDF secure?
Flattening prevents casual edits to markup, but it’s not encryption. For protection, add a password or restrictions in your PDF editor, or share via a secure portal.
How do I prove signatures after flattening?
Flattening rasterizes visual signatures. If you need certificate-based, verifiable signatures, use a digital signature workflow (e.g., Adobe Acrobat). See Adobe: Digital signatures.